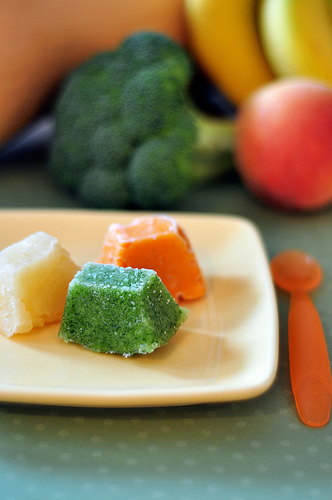
Freezing homemade baby food has become a fun obsession. As I mentioned in the last post, taking just a few hours out of a day to make a large bulk of baby food will reward you with weeks worth of supply. And, it's easier than you may think.
For your baby's first tastes (fruits and veggies), a day of making baby food will go off without a hitch with quick planning and the right tools. Following is a list of some of the tools you need to prepare and freeze your baby's food:
- Oven, pots and pans, steamer. There are different ways to prepare fruits and vegetables before blending them into a smooth puree. You can roast your veggies (oven), boil them (pan), or steam them (steamer or microwave oven). Some parents have their strong opinions about which method is best, but it is entirely up to you on what works well for your home. I usually roast my vegetables, and sometimes steam them as these seem to be the methods that preserve the most nutrition. However, I have boiled some fruit, as well. Some fruits and vegetables, such as avocado and bananas, do not require cooking.
- Food processor, food mill, blender, or fork. Any of these items are good for pureeing or mashing the food. Make sure you mix it while it's still warm. Some fruits and vegetables are soft enough to mash only with a fork.
- Teapot of boiling water. Sometimes, when blending the food to a puree, you will need to add more water in order to get to the desired consistency. If you do not have leftover water from boiling or steaming, then it is helpful to have a teapot of boiling water ready so you can pour it into the blender or food processor little by little until the puree is as smooth as you need.
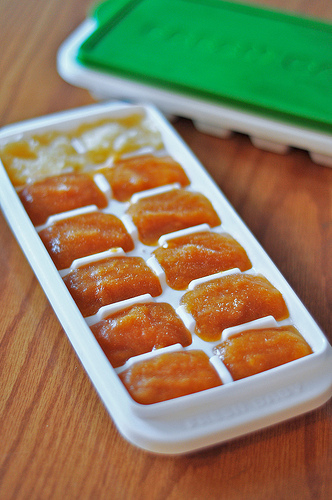
- Ice cube trays or small freezer containers. Scoop the pureed baby food into ice cube trays or small freezer containers with lids. If the ice cube tray does not have a lid, cover with plastic wrap. I love these ice trays and also find it convenient to use these cute baby containers that stack nicely in my freezer. It is also helpful to use a small cookie/ice cream scoop during this step.
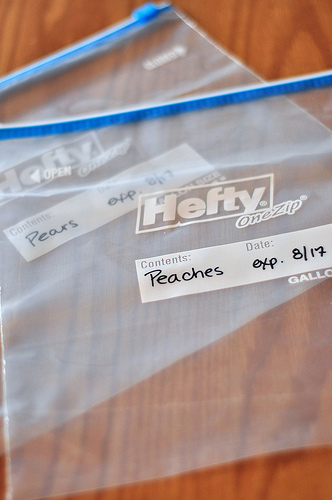
- Freezer bags (gallon size). When the food is completely frozen in the trays (above), transfer to separate (labeled and dated) freezer bags so you can continue to use the ice trays for other purees. Most purees last 6 weeks, so I label the bags with the name of food and the expiration date of 6 weeks out.
You will find other little helpful tools as you get in your own groove of making baby food. These are just the main ones that I use regularly.
Most of the recipes I'll be sharing are freezer friendly. You will be so happy to have meals ready for your sweet little one, especially on those busy days (every day in my household). When you're ready to use the frozen food, you can either thaw it over night in the fridge, heat it up on the stovetop, or microwave for about 30 seconds while stirring in between. Some do not recommend the microwave method as hot spots can occur, but you better believe that it's the method I use as it is the quickest. Plus, a quick stir rids those hot spots. Just keep in mind that your baby is more sensitive to the temperature of the food, so please test it before feeding it to him.
I'm hoping to soon share some of the actual homemade baby food recipes I've used. We are still in transition and trying to settle in to our new home and our new state. Besides unpacking, we've taken on many projects (painting, carpeting, etc.) that have been keeping us very busy and keeping me away from blogging regularly. Maybe soon I can post some sneak peak pictures of my new kitchen! In the meantime, try pureeing some of your baby's favorite fruits and veggies and using the above tips to freeze them! I'd love to hear your stories of what has worked and not worked for you.


