[youtube=https://www.youtube.com/watch?v=pZ-Cevn8-l8]
Although I'm very grateful for the home we are renting while we're in transition, I do wish we had more sunlight shining in through our windows. If you have a food blog, you more than likely understand the importance of natural lighting for food photography. Even if we did have a good source of natural light flooding in our home, now that winter is here, it is dark by the time I get home from work and the gym. In fact, around here it starts getting dark at 3:30 PM! How depressing!
When I saw this idea on BlakeMakes, almost two months ago, I can't even tell you how excited I was! It was my intention to go out right away and buy the supplies and build my own. But, life and procrastination got in the way and it wasn't until tonight that I finally put it together.
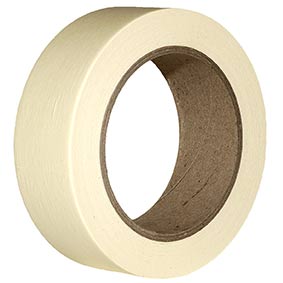
The box is very simple and cheap to put together. Here's what you need (prices are estimates based on what I paid):
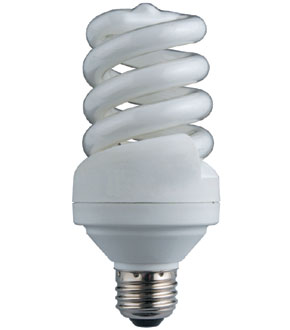
Two 100W Daylight Bulbs (Home Depot $7/ea.)
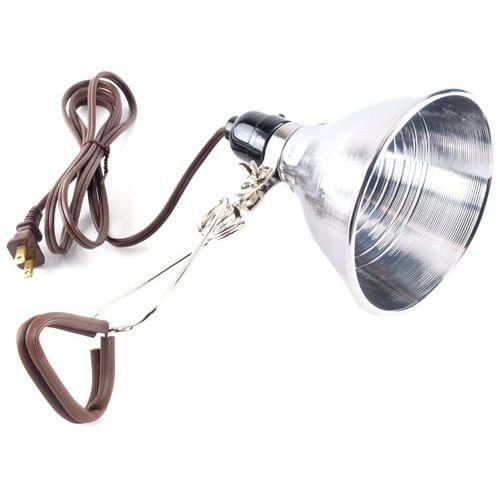
Two Clamp Lights (Home Depot $7/ea.)
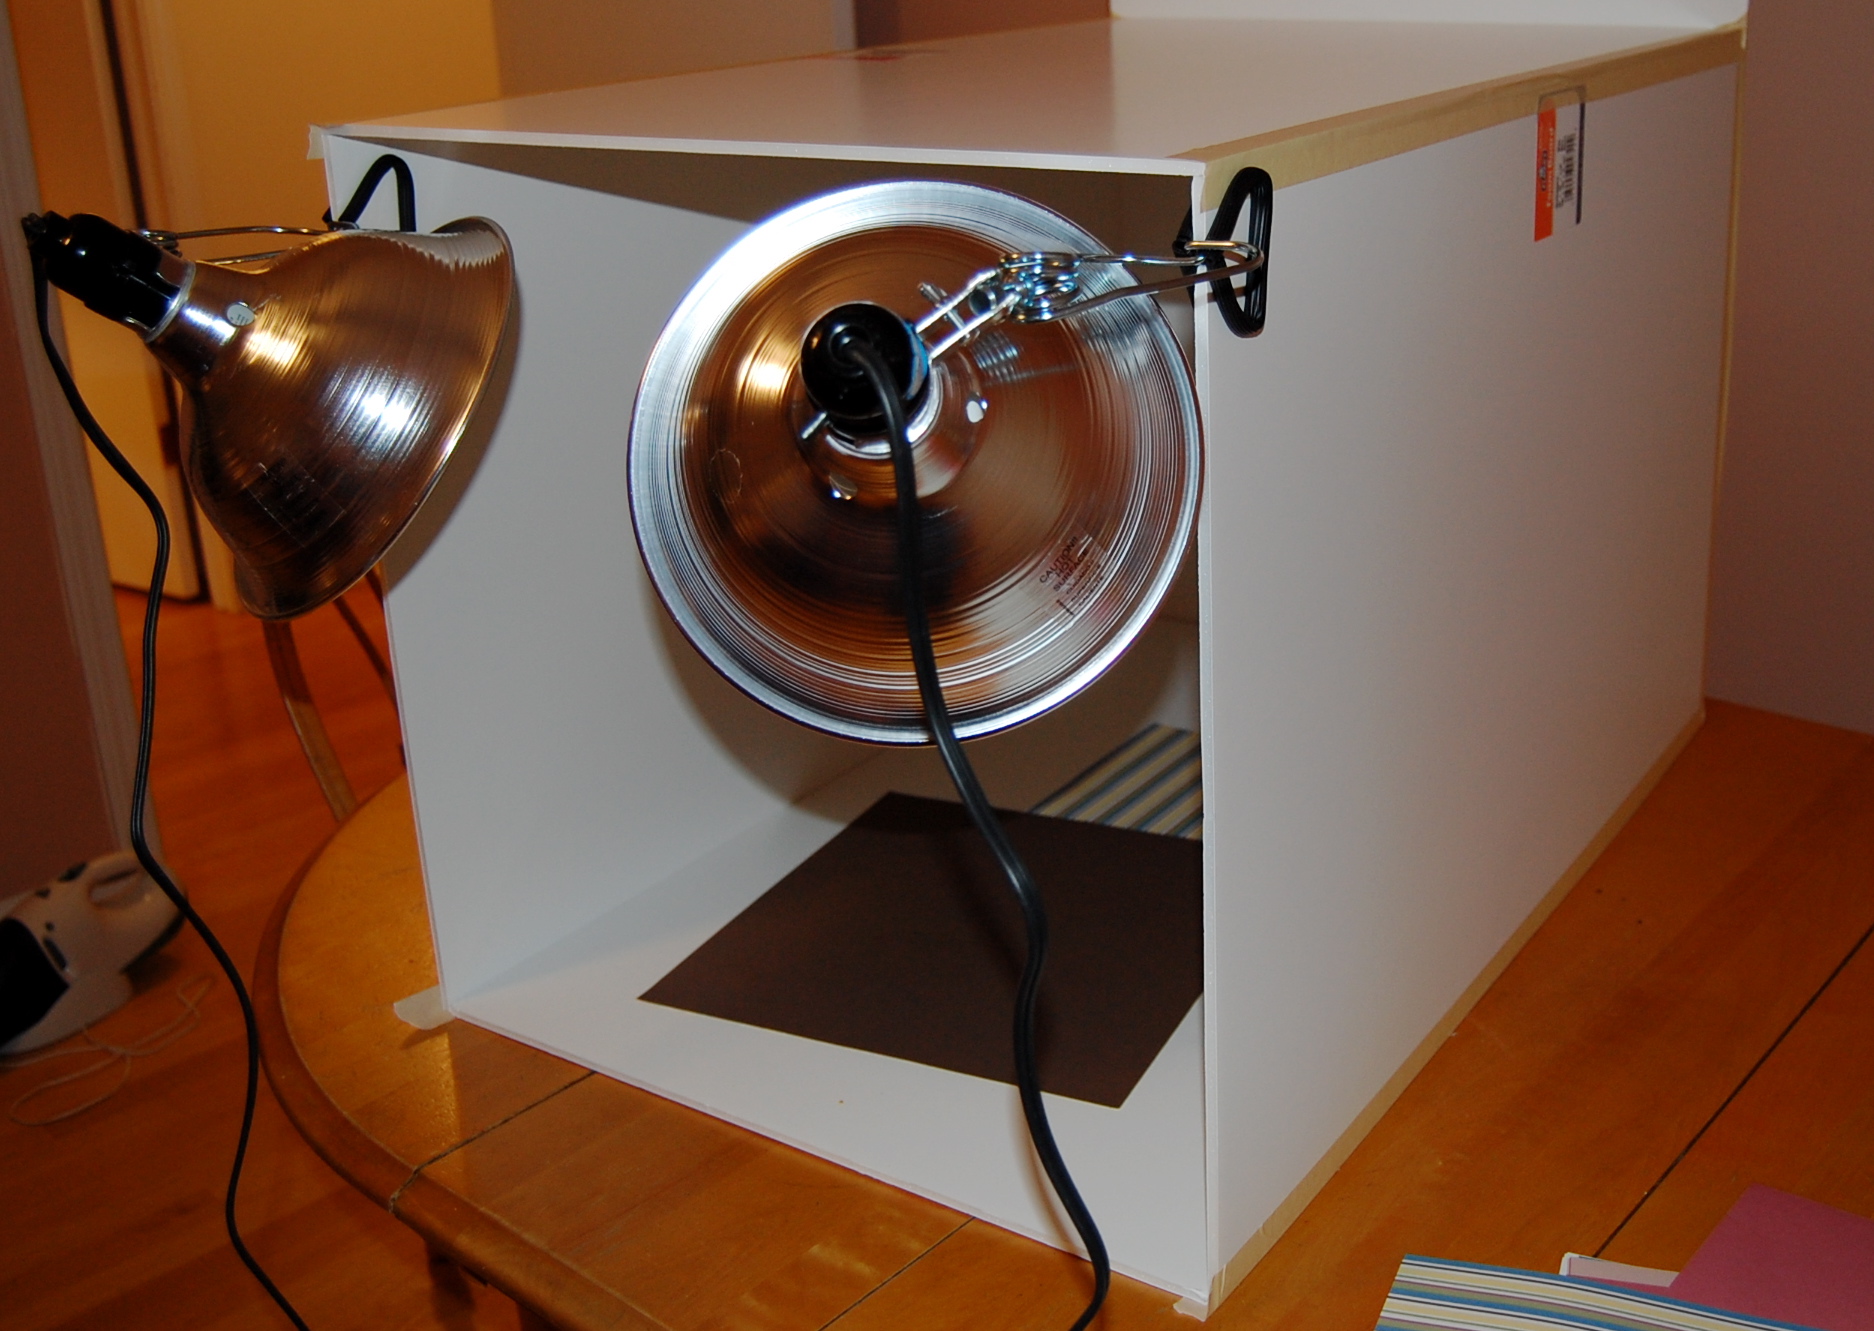
And here is the end result:
Now, let me show you a quick example of how helpful a light box is. Yesterday, I made pumpkin scones for breakfast. We had some leftover, so I used them to test out my new light box. Look at the difference between taking a picture in the box without the daylight bulbs on (left) and then with them on (right). The picture on the right looks so much better!


