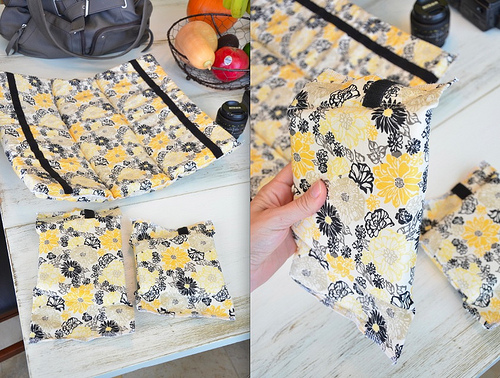
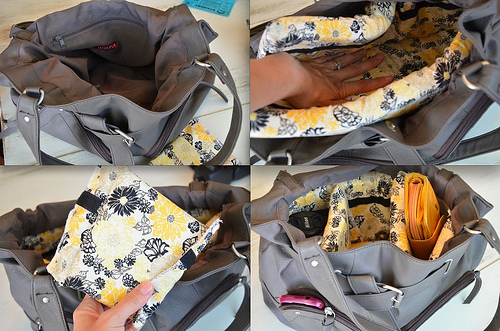
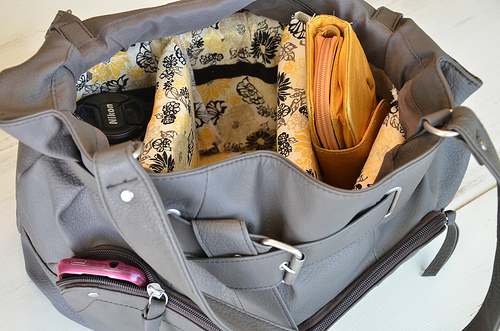
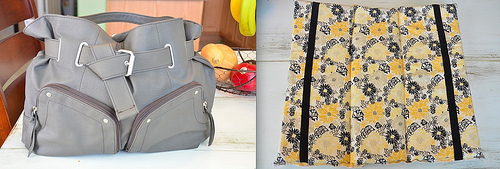
 Although this isn't a recipe and might not seem food-related, it has everything to do with this food blog. If you haven't noticed, I take pictures of food. 😉 Generally, I shoot these food photos inside my home, but the camera I use is also our family camera that is often carried out of the house. I was tired of using the ugly bulky kit bag to protect our camera when we went out and about, and I desired something that appeared a bit more trendy. Last year, Ben received a nice camera messenger bag for Christmas along with a rugged backpack, but what was I to use?
After shopping for a little while online, I couldn't find any decent camera purses under $100, and most were over $200! Thankfully, I came across this blog and was inspired to make my own!
I made this purse back in October so that I would be able to use it at the Foodbuzz Festival last month. But, I think it would be a super idea as a homemade Christmas gift for the photographer in your family! The purse (without the padded inserts) is from Target and after purchasing all of the other material from Joann Fabrics, the entire project cost me less than $50.
All you need is the following:
regular purse
fabric
velcro
foam (½- or 1-inch)
needle and thread (and a sewing machine helps!) 🙂
The method is simple. I can give you a quick run-down here, but you can just use this as inspiration and figure out the steps that are best for you. I'll let you know now that I'm basically sewing-impaired. So, my good friend helped me with the project and basically figured out all of the dimensions for me and did most of the sewing with her fancy pantsy machine (that she graciously taught me how to use, so now I covet it.)
So here we go: Find a purse you love that is the right size to fit your camera and other items such as your wallet, another lens, etc. I made sure to pick one that had outside pockets for my cell phone and lipstick. 🙂 And, when figuring out the size you need, keep in mind that the foam is going to take up a lot of space.
