

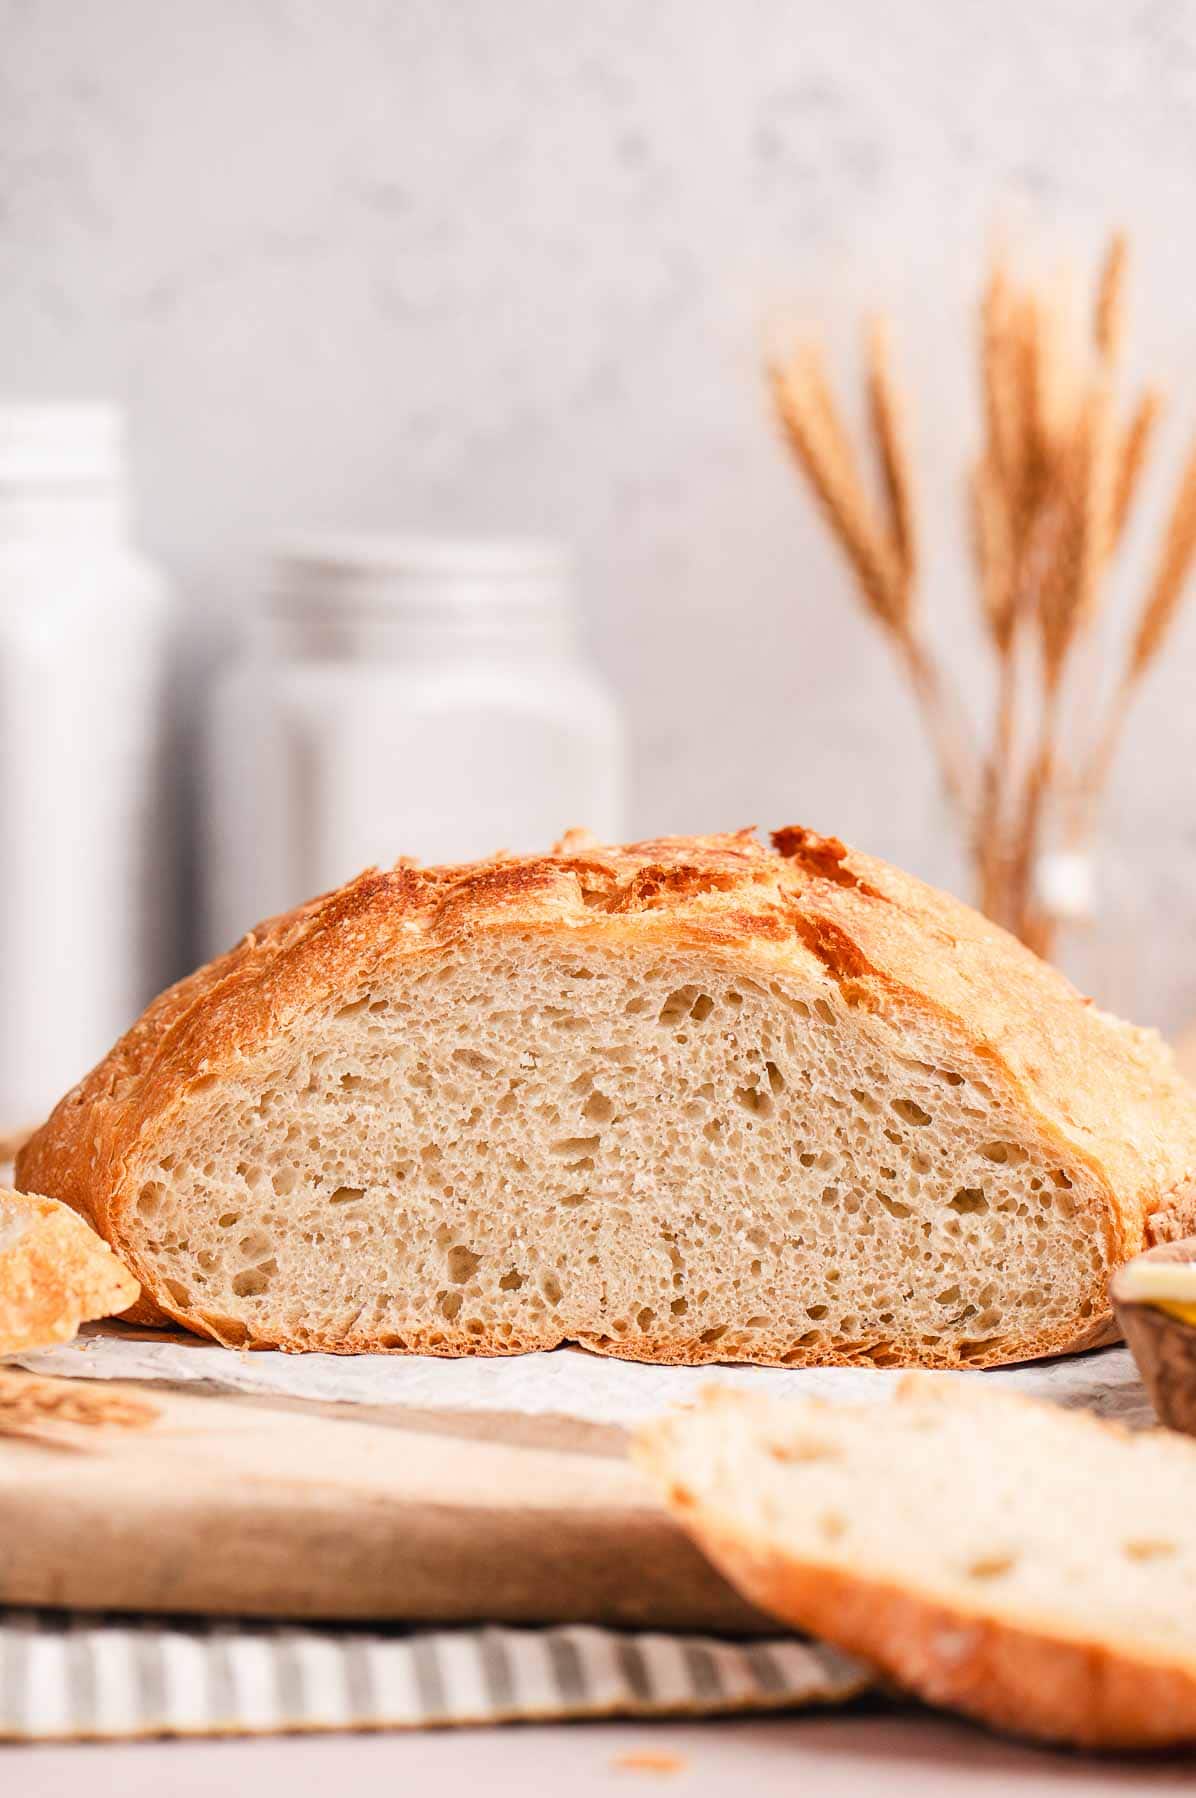
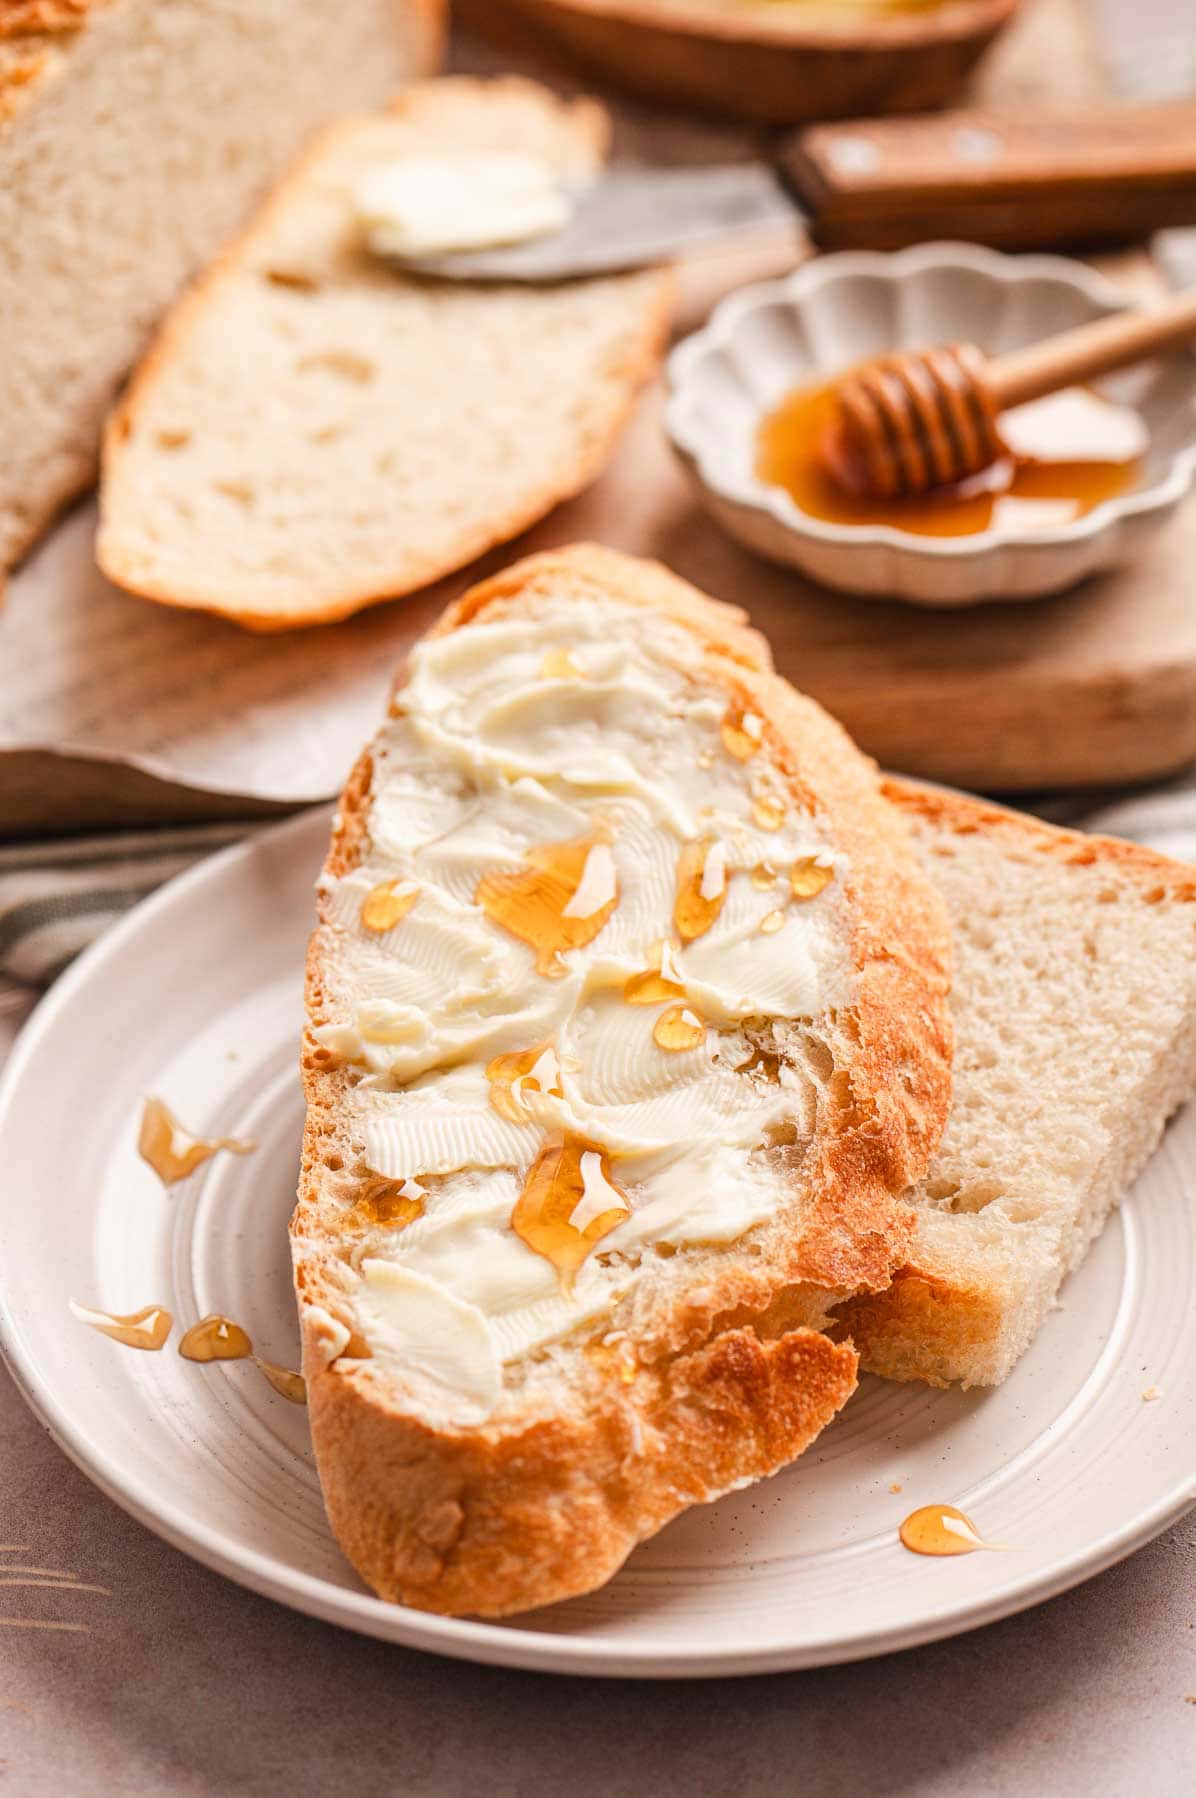
Straight from Gramma Mimi's recipe box, this no knead artisan bread is easy to make! With its simplicity, anyone can make this beautifully crisp loaf. Delicious with a slab of butter, or can stand on its own with its golden crust and soft chewy interior.
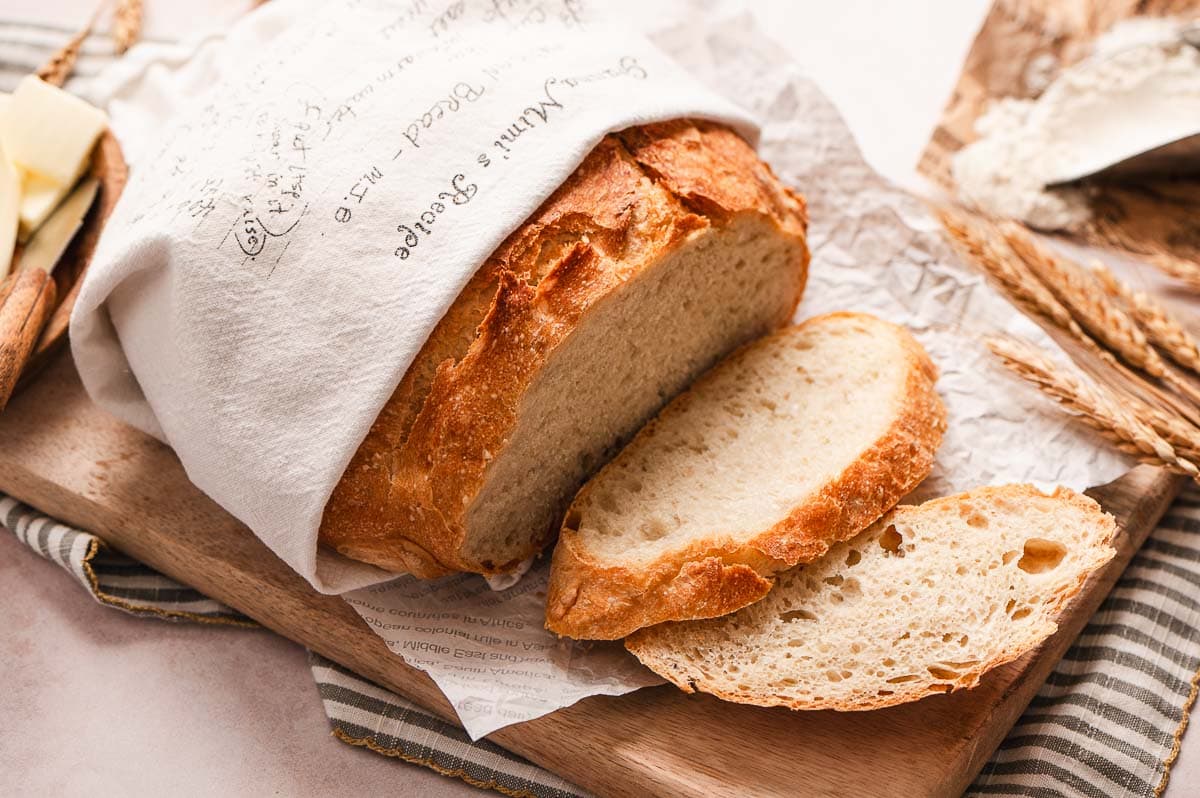
Capture the warmth and heartiness of homemade baking with this effortless artisan bread recipe. Gramma's Mimi's version has a special touch, with her hand written notes on a well-worn recipe card. Although she is no longer with us, every slice is a taste of her love and craftsmanship.
Why We Love This Bread Recipe
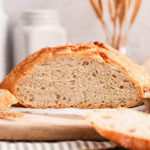
I recently started making sourdough bread with my own homemade starter, but on the days that I just want a last minute simple homemade bread, I turn to this recipe. Made with just a few basic ingredients -- flour, warm water, yeast, sugar, salt -- this artisan bread results in a rustic, slightly tangy flavor with a wonderful open crumb structure.
My whole family makes this bread -- my sister, my mom, and my aunt. We all adore it and cherish the way it allows us to honor our Gramma Mimi.
Artisan Bread is Different Than Regular Bread
Artisan bread is set apart from regular bread because of it's rustic appearance and crispier crust. It also typically has a chewier interior and more airy crumb. Many artisan bread recipes use superior ingredients, but we're not doing anything fancy here. Whatever brand flour and sugar you have in your pantry will suffice!
Ingredients
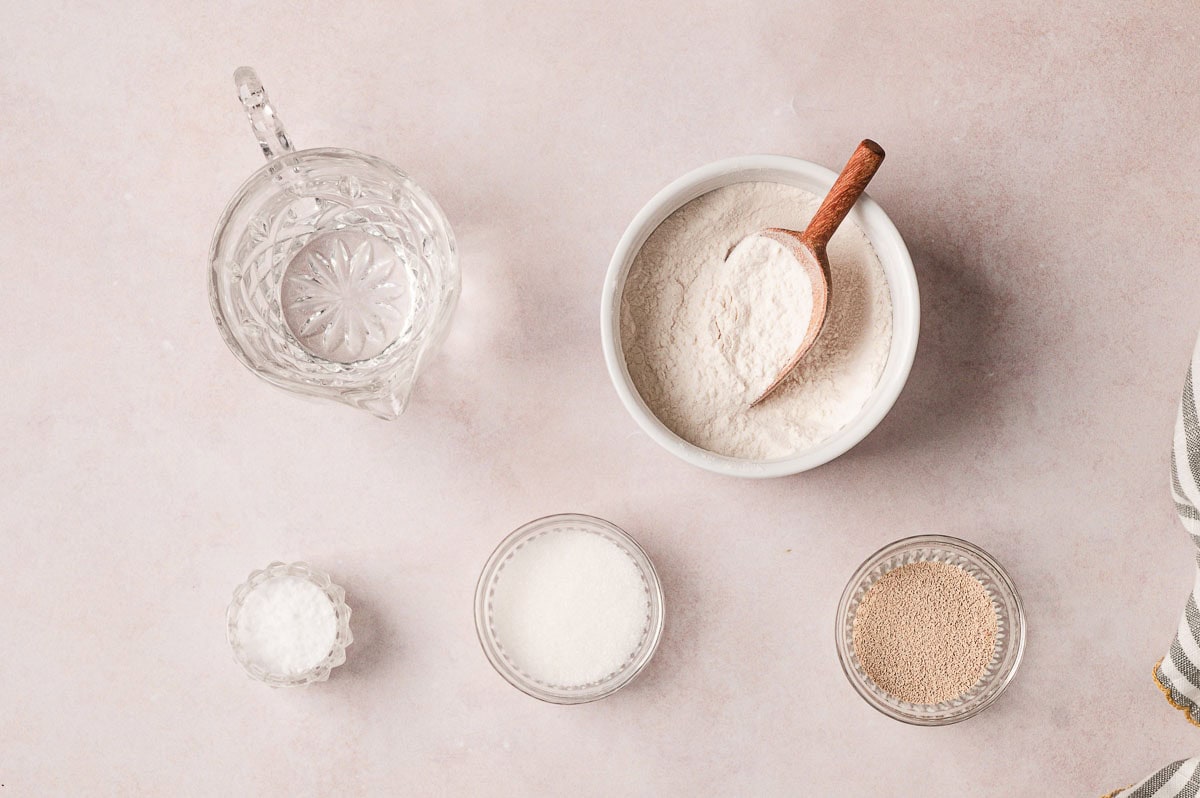
Just five basic ingredients make up the recipe for this easy artisan bread. All you need is all purpose flour, warm water, sugar, salt and instant yeast. Active dry yeast works, too, you'll just need to allow it to rise a little longer.
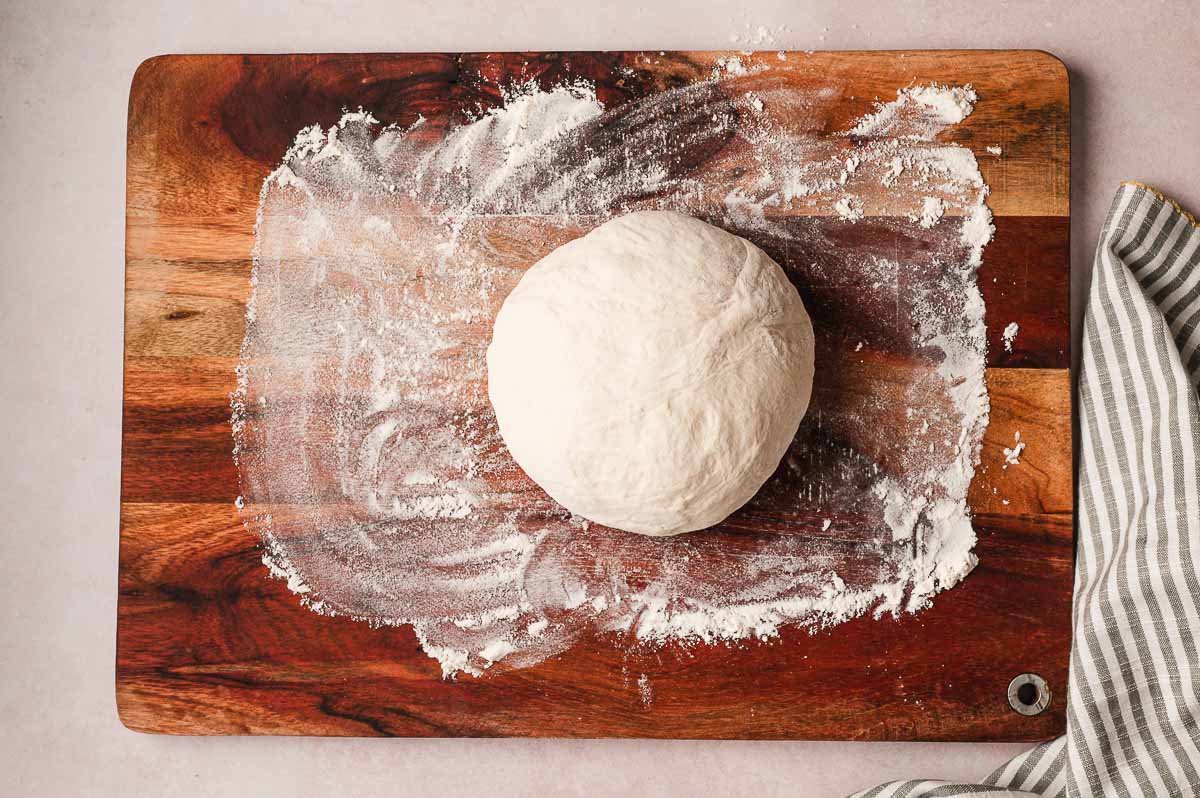
How to Make No Knead Bread
The steps to make this simple artisan bread are detailed below in the recipe card. In short, you stir all the ingredients in a large bowl with a wooden spoon, let the dough rise, then shape and bake. It couldn't be easier!
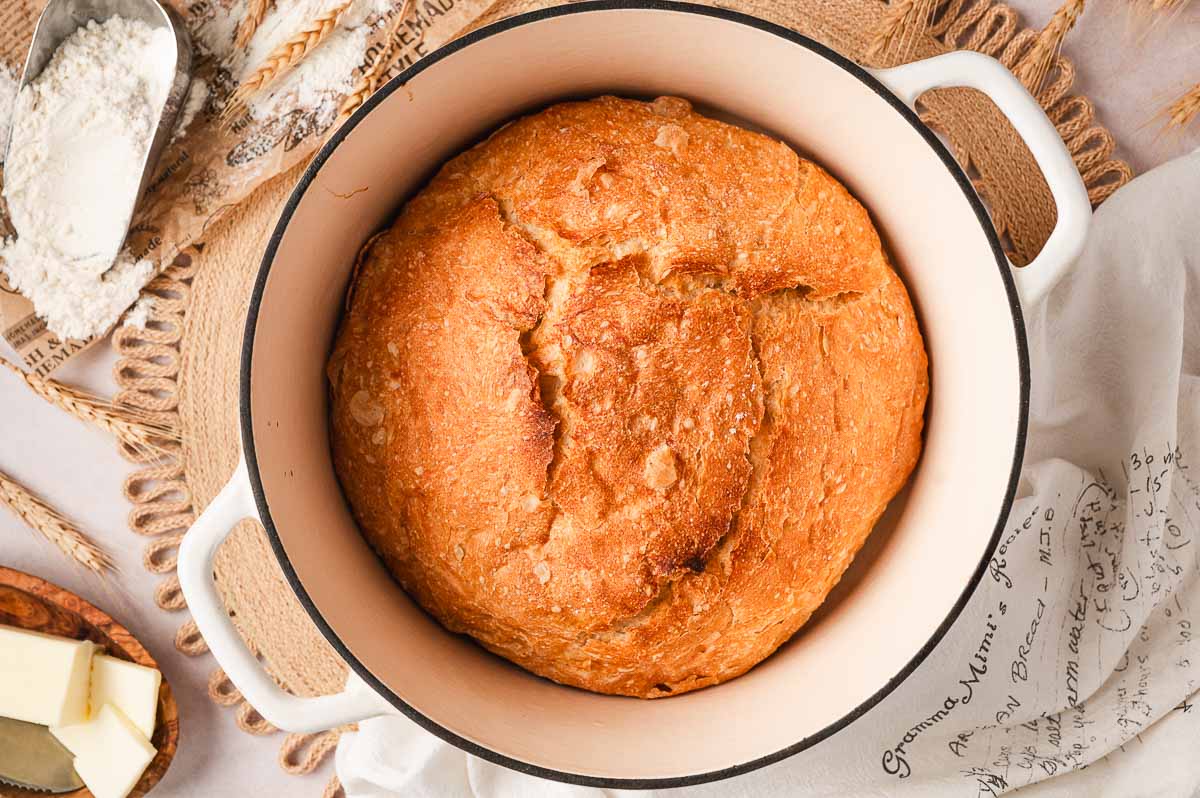
Dutch Oven Recipe
For this recipe, I use my Dutch oven with a lid. You do not need an expensive Dutch oven, but I recommend a 6-quart size because it is very versatile -- perfect for baking bread, making soups, frying donuts, and so much more.
Serving Ideas
The simplest way to serve this no knead artisan bread is by slicing and adding a slab of butter! Or, dip your slices into olive oil dusted with salt and pepper like they do in the fancy restaurants. It's perfect as a side to any soup, pasta dish, or hearty meal. You can also use it as sandwich bread!
More Easy Bread Recipes
Made This Recipe?
Leave a star rating, take a photo and tag me on social media @seededtable so I can share it!
Photos by Lindsay Evers Photography
Recipe Card
No Knead Artisan Bread
Equipment
- Dutch oven
- large mixing bowl
- wooden spoon
Ingredients
- 1 ½ cups lukewarm water
- 1 teaspoon salt
- 1 packet instant yeast
- 1 teaspoon sugar
- 3 ⅓ cups all purpose flour
Instructions
- In a large mixing bowl, combine the water, salt, yeast and sugar. Mix in the flour with a wooden spoon. Cover the bowl and let rise for about 1 to 2 hours, or until the dough doubles in size.
- Place a 5 to 6 quart Dutch oven with a lid into the oven. Set oven temperature to 400°F.
- While the oven and the pot are preheating, transfer the dough to a well-floured surface. Using floured hands, stretch and fold the outer edges of the dough onto its center to gently form a ball. (This dough is wet and sticky, so you may need to wet your hands or use extra flour to do this.) Sprinkle the top with more flour and flip the dough ball over so the top is smooth.
- Use oven mitts to carefully take the hot pot out of the oven, and remove the lid. Lightly spray the bottom of the pot with cooking spray. Gently transfer the dough ball to the Dutch oven. (Or, you can shape the dough on parchment paper and transfer directly to the pot.) Place the lid back on (don’t forget to use your oven mitts!) and then bake, covered, for 30 minutes. Remove the lid, increase oven temperature to 425°F, and bake for an additional 15 minutes until golden and crusty. (When you tap the loaf it should sound hollow.)
- Let cool for at least 1 hour on a cooling rack before slicing.
Notes
- Nutrition information is an estimate only, based on one loaf producing 8 slices.
- Instead of spraying the pot, you can shape the dough on floured parchment and then transfer to the hot pot. Or, use a silicone dough sling.
- Dough is done when it sounds hollow when tapped, or when internal temp reaches 205°F.

Leave a Reply