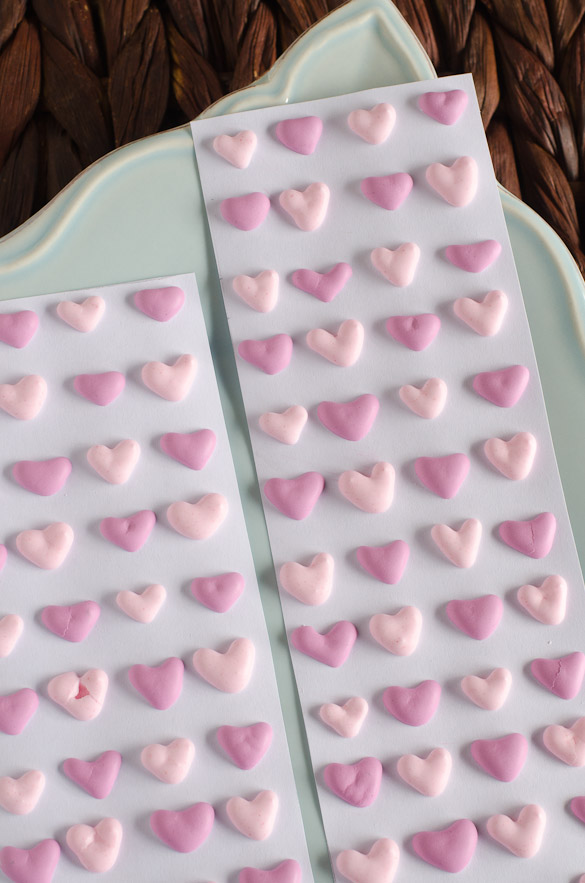
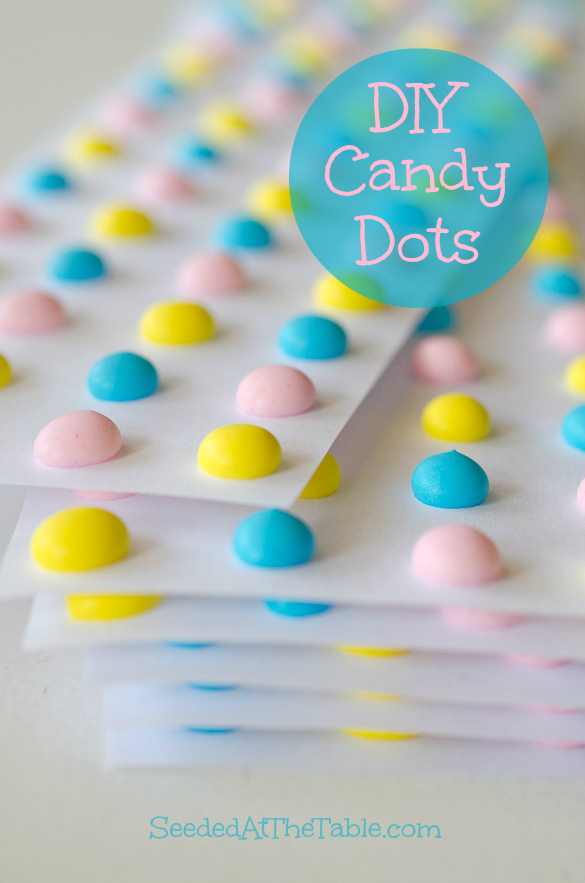
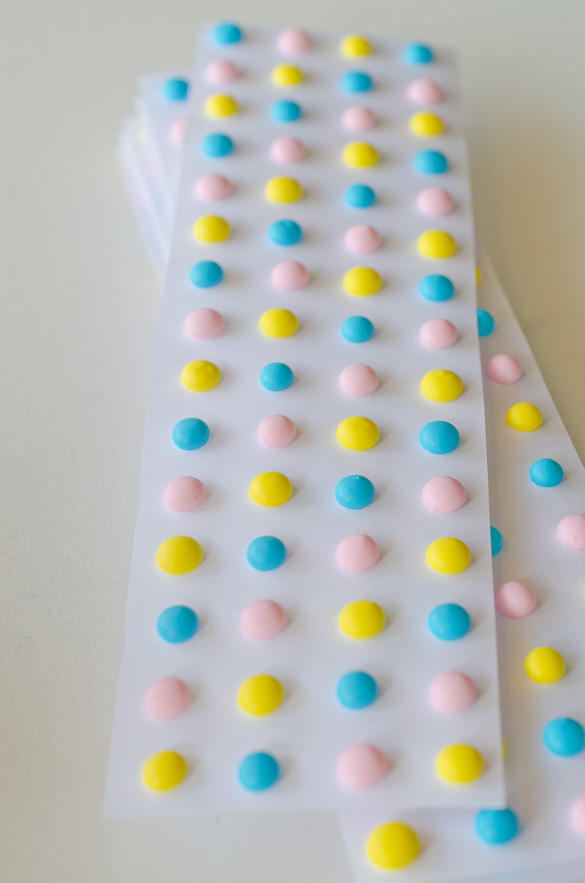
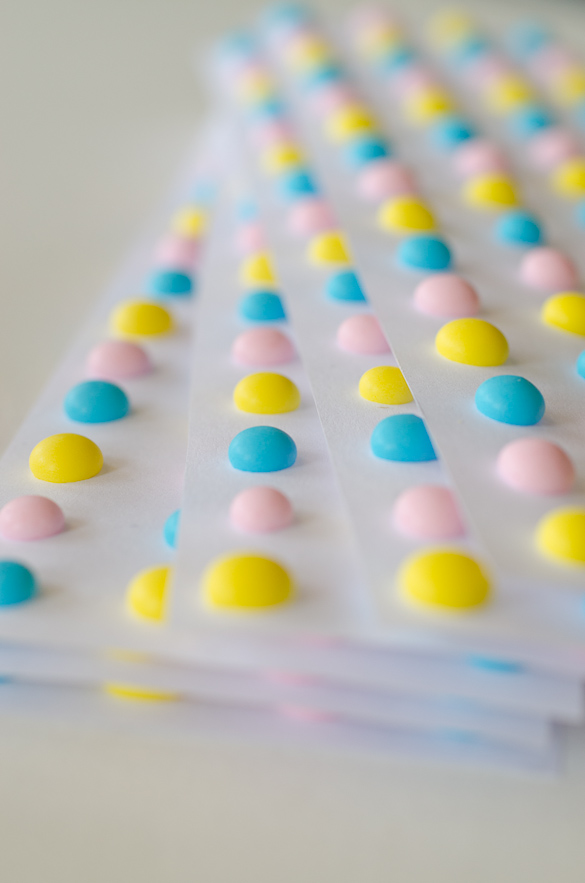
With just a few ingredients, you can make Candy Dots at home. Not only will you be re-creating a childhood favorite, but you'll also place a smile on your kid's face with these Homemade Candy Dots.
 Raise your hand if your kid plays, lives and breathes Skylanders. Don't know what I'm talking about? Consider yourself lucky. 😉 Judah was introduced to this children's video game last month. We caved and bought it for him, and the rest is history. He's hooked. It's all he wants to talk about.
Kind of like how I can't seem to keep a box of Cheez-Its in my house for more than two days. (Ben...?)
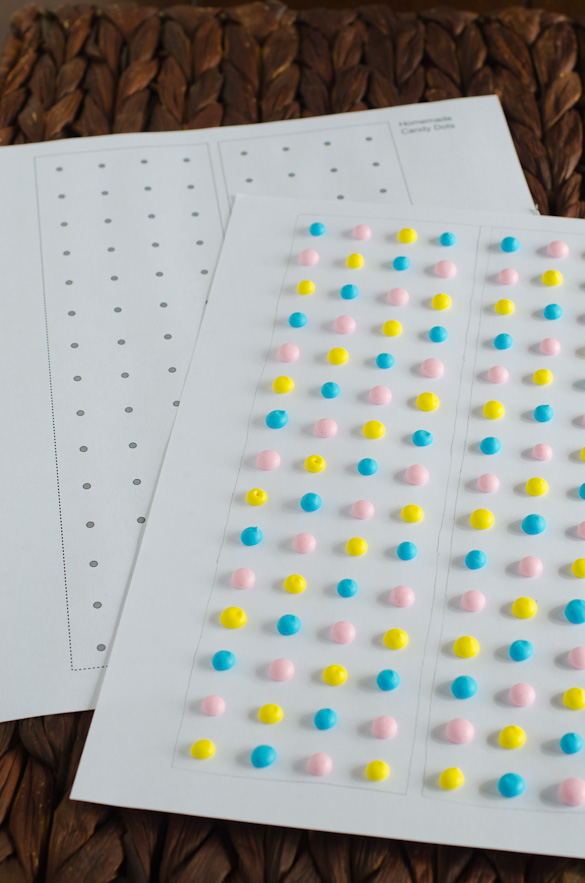
I've provided a free printable for the sleeves. Click on the image below for the Homemade Candy Dots sleeves template:
ENJOY!
Recipe Card
Homemade Candy Dots
Ingredients
- Candy dots template print-out (see below for free printable)
- 3 tablespoons meringue powder
- 4 cups (1 lb) powdered sugar
- 6 + tablespoons water
- ½ teaspoon cherry extract (or vanilla extract)
- Gel food coloring
Instructions
- Print out one page of the candy dots template. Place another white sheet of paper on top of the print-out and trace the two rectangles. Cut out the rectangles, set aside and repeat with how many candy dot sheets you plan to make. Set aside.
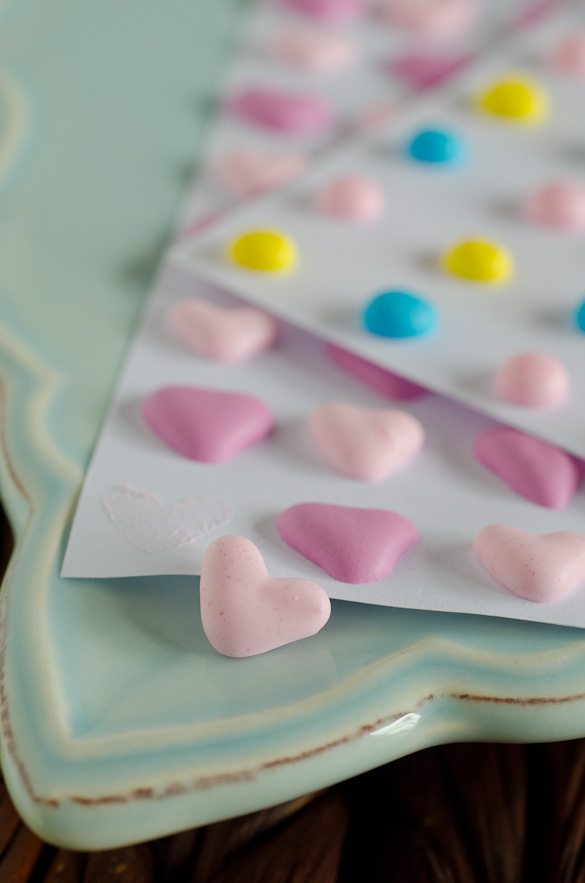
- In a large mixing bowl, beat together the meringue powder, powdered sugar, water and extract until stiff peaks form and icing loses its sheen (about 10 minutes). Divide into separate containers, depending on how many colors you plan to use. Mix in food coloring with rubber spatulas. Add more water, ½ teaspoon at a time, to thin each color out so that when it drops off the spatula it quickly dissolves back into the remaining icing within 10 seconds. (But, thick enough to pipe and hold it's dot, or heart, shape.) Add powdered sugar if need to thicken. Keep covered until ready to use.
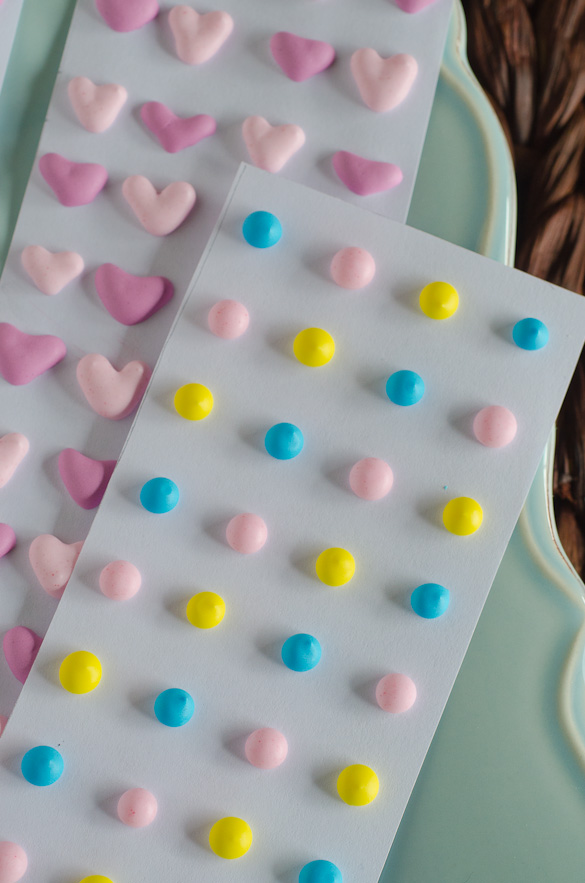
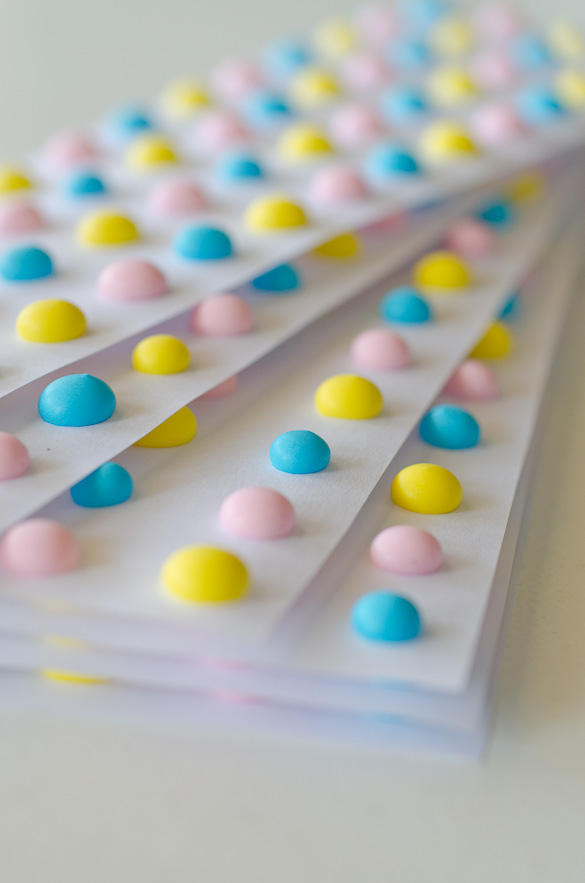
- Prepare piping bags with small round tips. Place each color of icing into one bag each. Place two rectangle cut-outs over top the print-out sheet so you can see the dots through the white paper. Pipe dots onto the two triangles, following the dot pattern. Let stand for 2 minutes, then carefully remove and set aside to dry completely. Repeat with remaining rectangle cut-outs. Allow dots to dry overnight in the open air.


