SweetSugarBelle was also so kind to make the sugar cookie favors for a baby shower I hosted last month. Not only was I impressed with the cookies (I'll post about the cookies and shower soon) but I was super amazed at the way she packaged them for the mail. Not one cookie was broken out of the 20+. To me, that is seriously awesome. SHE is seriously awesome...seriously. 🙂
Let me stop blabbering and allow you to enjoy the following tutorial by SweetSugarBelle. I took the liberty to name these cookies "Peek-a-boo Ghost Cookies" just for an easy title, but you can call them what you want. Make sure you check out her blog today, too, for a tutorial on the owl cookies! Thanks for guest posting, Callye! I hope every reader here becomes a new fan and realizes the talent you possess!
Hi, I am SweetSugarBelle and I am excited to be visiting you here at Nikki's place. If you haven't met me yet, I'm the girl who is obsessed with cookie decorating. I tell about all my adventures over on my blog, The Sweet Adventures of SugarBelle. I'd love for you to come visit me sometime. I always like making new friends.
Anyway, Nikki invited me over to show y'all a fun little how-to on cookie decorating, so here I am! Are you ready?!
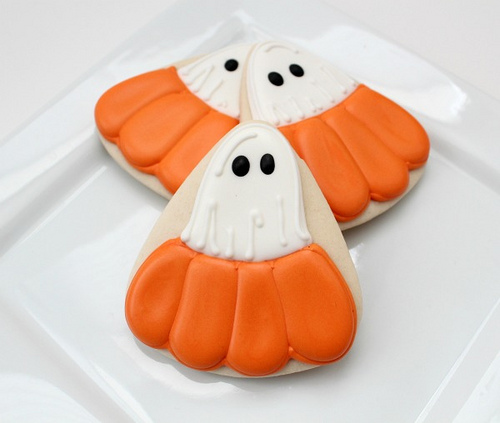
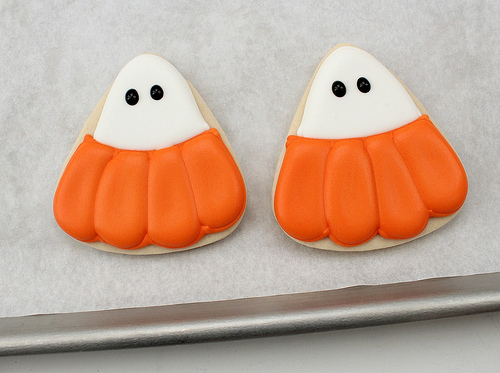
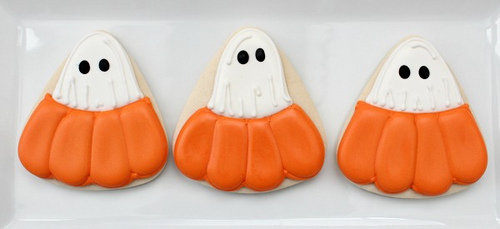
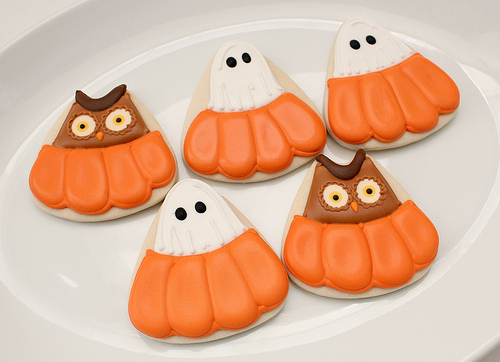
Today I am going to make cute little ghost peeking out of a pumpkin cookies. I tried to think of a cute name, but I drew a blank. But regardless of the name thing, the cookies will be adorable.

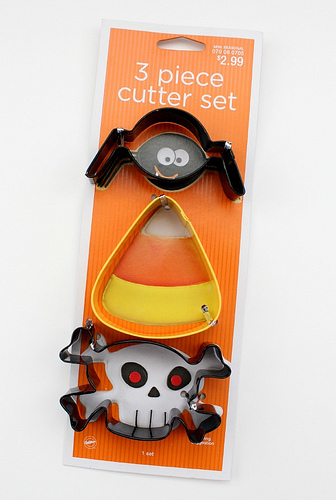
orange piping and flood icing
white piping and flood icing
black flood icing
#1,, #2, and #3 icing tips
If you don't have a go-to sugar cookie recipe, you can find mine HERE. I also make a pretty mean royal icing if you need that one too...
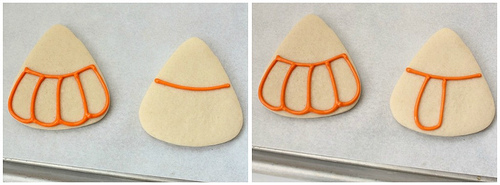
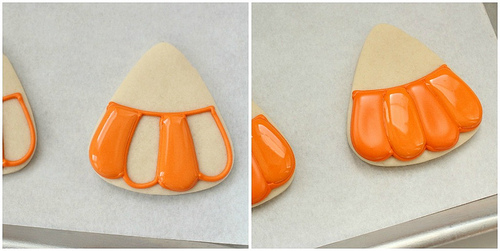
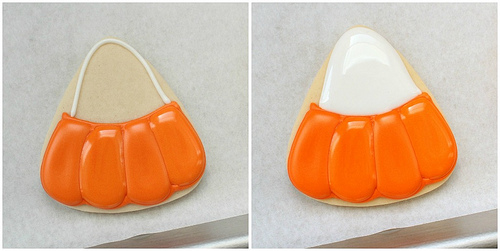
After you bake and cool your cookies, begin by outlining and flooding the pumpkin part of the design. Use a #3 tip and break it down into sections to make it easier. Make the top line first and then pipe each section.
I also made owls to match. Aren't they cute?!
Thank you so so much Nikki for having me! I cannot wait until you come to my place!


